Factorio Megabase Guide: SPM, Trains, Layout & UPS
A Factorio megabase is not just a starter factory copied many times. It is a production system built around a measurable science-per-minute target, repeatable modules, enough logistics capacity, stable power and a design that can keep running when the map becomes busy. This guide turns that goal into a sequence you can calculate and test.
Updated July 16, 2026 for Factorio 2.0 and Space Age planning
What counts as a Factorio megabase?
Players commonly use 1,000 science packs per minute as a practical megabase benchmark, but the better definition is operational: the factory sustains its chosen output, recovers from interruptions and expands through repeatable blocks instead of emergency rebuilding.
- Choose one sustained SPM target before designing production blocks.
- Measure every science pack, laboratory, intermediate and raw-resource chain against that target.
- Separate production capacity from transport capacity so a full assembler row is not starved by belts, bots or trains.
- Build power, unloading, buffering and recycling with expansion margin instead of sizing them at the exact average load.
- Test one module at full throughput before stamping dozens of copies across the map.
A megabase is a network of repeatable systems
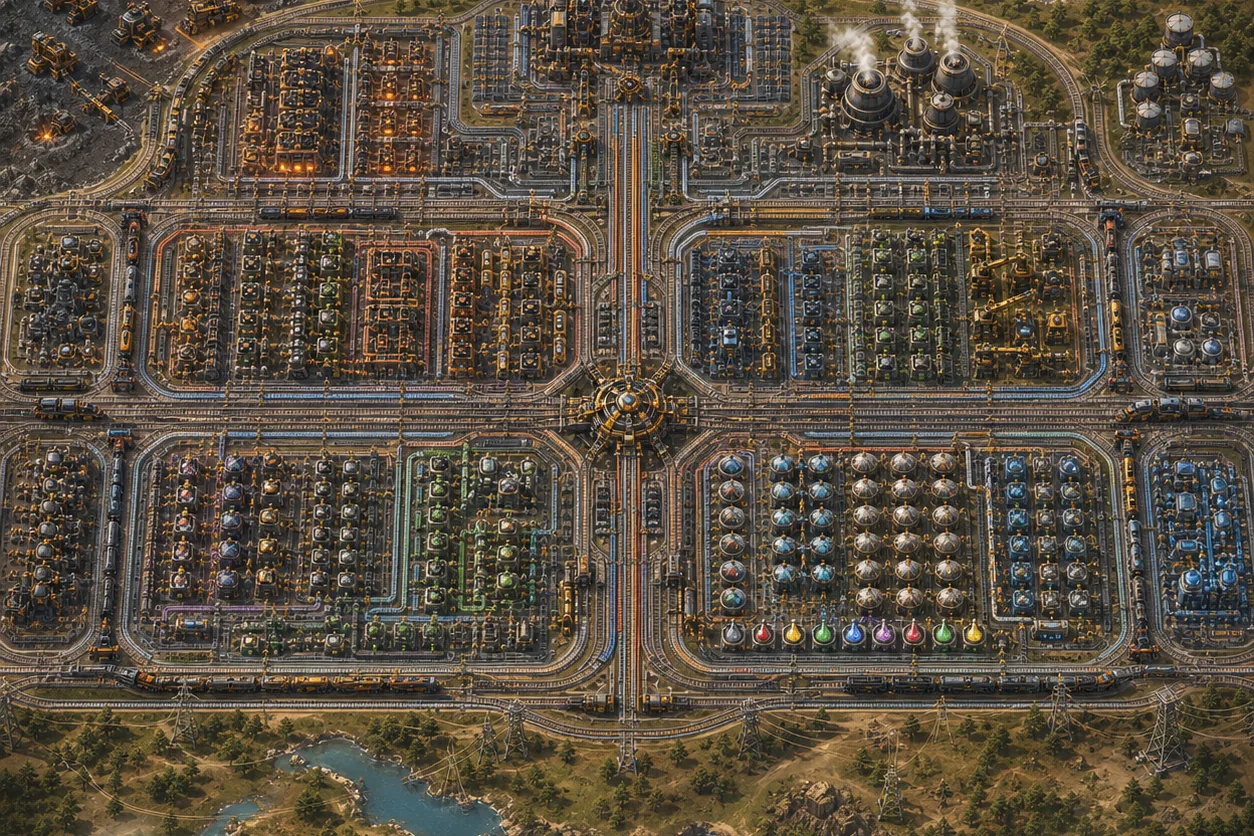
Think in connected layers: mining, bulk transport, intermediates, science modules, laboratories, power and control. The illustration below is an editorial concept, not a real game screenshot or official blueprint, but it shows the planning principle: each district has a clear job and enough space to connect without forcing every flow through one intersection.
Choose the Factorio megabase SPM target first
SPM is the contract for the whole factory. A target that sounds impressive but is never sustained produces misleading module counts, oversized buffers and long debugging sessions. Pick a level you can observe for at least several research cycles, then calculate backward from laboratories to raw inputs.
| Target | Best use | Planning emphasis | Typical risk |
|---|---|---|---|
| 250 SPM | First scalable post-rocket factory | Clean ratios and stable belts | Calling a burst from stored science sustained output |
| 500 SPM | Transition base or compact rail base | Module supply, unload design and power margin | Expanding every product before the core science chain is proven |
| 1,000 SPM | Common megabase benchmark | Repeatable production blocks, train schedules and UPS awareness | Central intersections and shared stations becoming hidden bottlenecks |
| 2,000+ SPM | Large optimized base | Mining productivity, direct insertion, short routes and entity reduction | Scaling a visually neat design that is expensive to simulate |
Calculate production and logistics capacity separately
Start with the calculator to estimate machines, modules and ingredient rates, then perform a second pass for movement. A module that can craft 45 items per second still fails if its inserters, belt lanes, pipes, bots or wagon unloaders move less than 45. Keep both numbers visible during design reviews.
Science demand
Calculate every enabled science pack and the laboratory consumption rate for the chosen research. Space Age science chains may be planet-specific, so separate local production from interplanetary delivery cadence instead of averaging everything into one number.
Intermediate demand
Circuits, steel, low-density structures, processing units, rocket parts and modules usually expose the first major scaling gaps. Reserve dedicated capacity for infrastructure production so building the megabase does not starve research.
Transport demand
Convert item rates into belt lanes, wagon loads, train arrivals or bot trips. Include both loading and unloading time, stack size, travel time and station recovery; train capacity on paper is not station throughput.
Power demand
Model average and peak power. Beacons, modules, roboports, inserters, pumps and defensive systems can create short peaks that collapse a grid sized only for the steady crafting load.
Pick a megabase architecture that matches the bottleneck
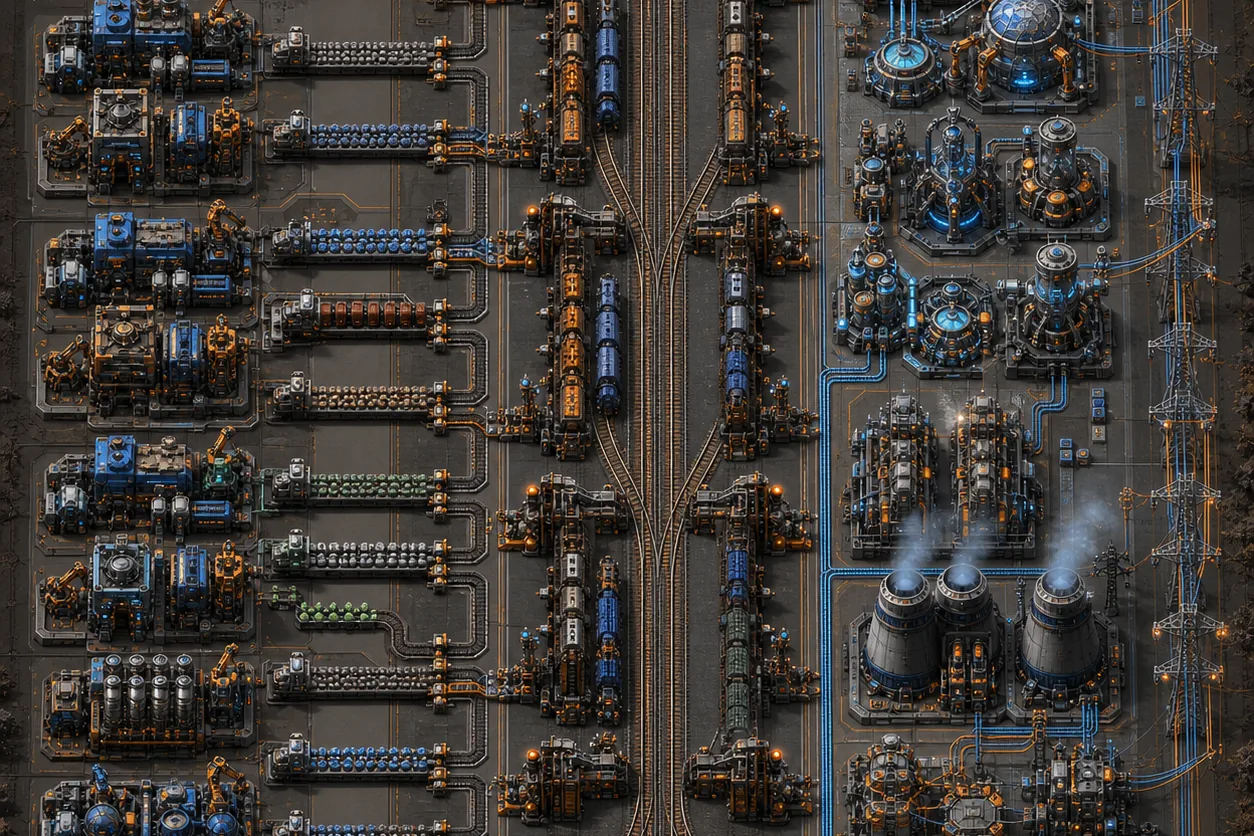
There is no single correct Factorio megabase layout. The right choice depends on map resources, train length, preferred building style, computer performance and whether the factory must grow while research continues. Choose a dominant transport pattern, but allow exceptions where direct insertion or local production removes unnecessary movement.
Expanded bus
A wide bus is readable and quick to debug at moderate scale. It becomes harder to extend when high-volume intermediates consume many lanes or when distant branches pull unevenly. Use it for the transition factory rather than forcing every late-game product onto one corridor.
Rail blocks or city blocks
Rail blocks make expansion predictable and isolate production districts. Their cost is network overhead: intersections, stackers, station naming and train limits must be designed as carefully as assemblers. Use the city block guide before locking a grid size.
Distributed specialized modules
Place compact production modules near resources or consuming blocks and move only dense products. This reduces bulk traffic but requires consistent interfaces, naming and construction standards.
Bot-assisted production
Bots are excellent for low-volume, high-variety recipes and mall logistics. Huge overlapping networks can create charging and pathing pressure, so split networks and avoid using bots as the default answer for every bulk flow.
Transition from starter factory to megabase in stages
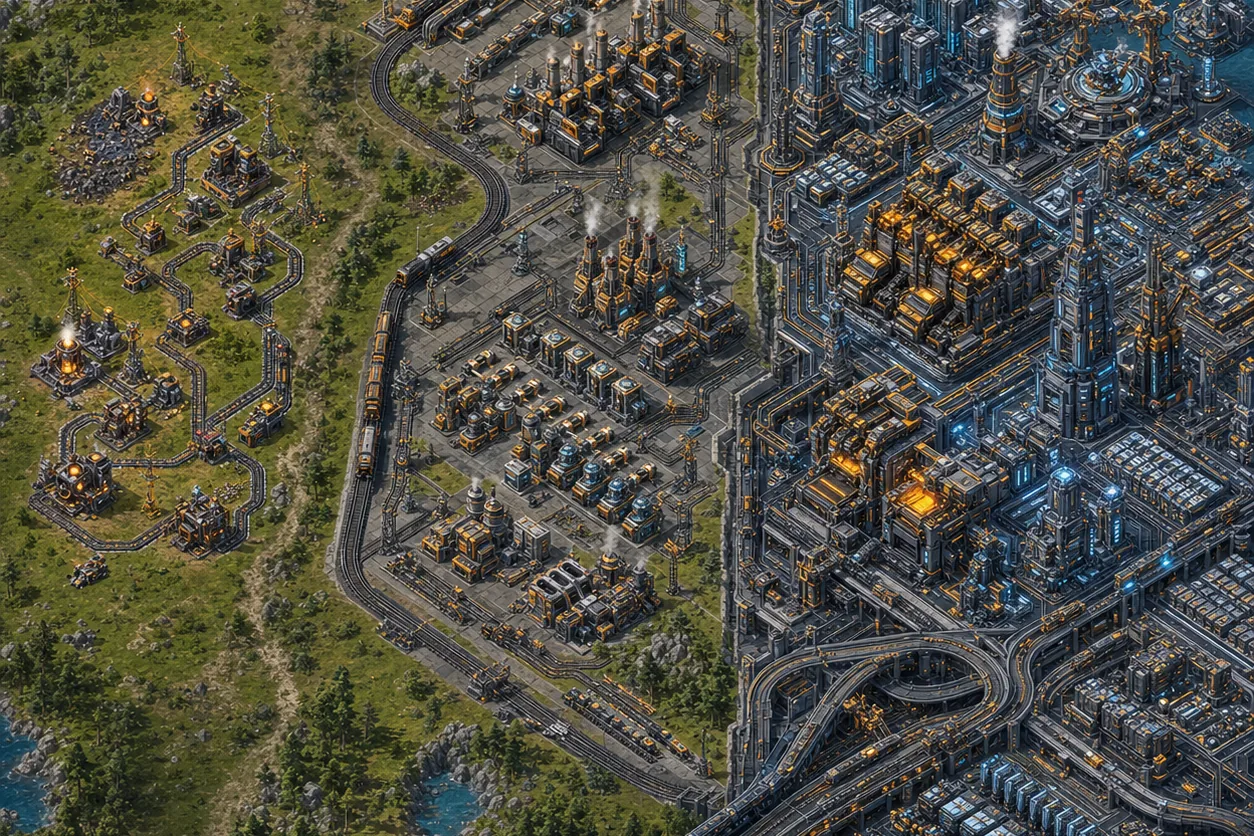
Do not demolish the factory that supplies rails, modules, inserters and construction robots before its replacement works. A safer transition keeps research running while new infrastructure is proven one layer at a time.
Freeze the target and baseline
Record current SPM, power, train count, module inventory and the products that regularly run short. This baseline prevents the project from becoming an endless redesign without a success condition.
Build the construction supply chain
Scale rails, signals, belts, inserters, assemblers, modules, beacons, roboports, power poles and landfill before science. A megabase consumes infrastructure faster than most starter malls can replace it.
Prove transport and power
Build one representative station pair, one train route and the next power block. Test congestion, fuel, train limits, unloading balance and recovery after a stopped train before copying the pattern.
Launch one complete science slice
Create enough mines, intermediates, one science module and laboratory capacity for a fraction of the final target. Run it long enough to expose shortages that buffers initially hide.
Scale by measured copies
Duplicate only the modules that reached their rated output. Recalculate shared inputs after every expansion wave, because mining, power, rail traffic and module production do not scale automatically.
Design trains, stations and buffers for recovery
A train megabase succeeds when stations recover from variation. Average throughput is not enough: ore patches slow, trains queue, inserters desynchronize and one blocked destination can ripple across the network. Use train limits and balanced loading so the system fails gradually instead of all at once.
| System | Good practice | Warning sign |
|---|---|---|
| Loading | Fill wagons evenly and enable trains only when a useful load is ready | One wagon finishes long after the others |
| Unloading | Balance output lanes and size the station for the consumer rate | Chests stay full while downstream machines starve |
| Stackers | Provide waiting space only where arrival variation requires it | Queues block the main line or extend through intersections |
| Train limits | Set limits from available loads or free unload slots | Many trains reserve the same destination and circulate empty |
| Buffers | Hold enough material to survive normal delivery gaps | Large buffers hide a permanent production deficit for hours |
Protect UPS before the factory becomes difficult to change
UPS optimization is most effective as a design habit, not a rescue project. Measure with the in-game debug tools before deleting useful redundancy. The goal is to reduce unnecessary active entities and movement while preserving a factory that remains understandable and repairable.
Prefer productive machines
Productivity modules and well-designed beacon layouts can reduce the number of upstream machines and resource deliveries. Compare total chain effects instead of optimizing one assembler row in isolation.
Use direct insertion selectively
Direct insertion removes belts, inserters and buffers from stable high-volume chains. It is powerful for fixed-ratio production, but it can make flexible expansion harder when used everywhere.
Shorten paths and networks
Avoid trains crossing the entire map for common intermediates and avoid giant bot networks that force long flights. Localize high-volume flows when the extra production module costs less than repeated transport.
Measure before copying
A blueprint that works once may become expensive when stamped fifty times. Test one block under real load, inspect update time and confirm its output before standardizing it.
Factorio megabase launch checklist
Before calling the project complete, run a sustained test with construction activity reduced and buffers allowed to settle. The following checks catch most bases that look finished but cannot hold their stated target.
Output
All required science packs and laboratories sustain the target through several research cycles without consuming a hidden stockpile.
Inputs
Mines, fluids, planetary imports and intermediates recover after normal interruptions and have a documented expansion path.
Logistics
Belts, stations, intersections, train limits and bot charging remain below their practical saturation point.
Utilities
Power, fuel, defenses, construction supplies and recycling continue working during peak demand and repair events.
Performance
UPS remains acceptable on the target machine, and the heaviest modules have been measured rather than assumed efficient.
Expansion
A new production block can be added without changing the central rail rules, rebuilding the power backbone or renaming every station.
Turn the SPM target into machine and input rates
Use the calculator for the first production estimate, then validate belts, wagons, stations, power and buffers with the guide above.
Factorio megabase FAQ
How much SPM is considered a Factorio megabase?
The community often uses 1,000 science packs per minute as a convenient benchmark, but sustained operation matters more than the label. A stable 500 SPM base with measured capacity is a better engineering result than a brief 1,000 SPM burst from full buffers.
Should a megabase use a main bus, trains or city blocks?
Use the architecture that keeps the dominant flows simple. A bus works well for a transition factory, trains and city blocks make repeated expansion predictable, and distributed modules can reduce bulk traffic. Many successful bases combine all three rather than enforcing one pattern everywhere.
When should I transition from the starter base to a megabase?
Start when the existing factory can reliably produce construction robots, rails, signals, modules, beacons, inserters, belts and power equipment. Keep it running until the replacement supply chain and one complete science slice have passed a sustained test.
Do I need megabase blueprints?
Blueprints help standardize rails, stations and repeatable modules, but importing a large book is not a substitute for capacity checks. Test train direction, signal rules, belt orientation, modules, recipes and version assumptions before stamping a design across the map.
How do I improve UPS in a large Factorio base?
Measure first, then reduce unnecessary active entities and long-distance movement. Productive machines, selective direct insertion, shorter train paths, smaller bot networks and simpler fluid or circuit systems can help, but the most valuable change depends on the actual update-time profile of your save.
Planning references
These official wiki references explain the mechanics used when calculating and validating a megabase plan.