Factorio Nuclear Reactor Blueprint Guide: 2x2, 2x4 & Safety Checks
A Factorio nuclear reactor blueprint is useful only when the reactor grid, heat pipes, exchangers, turbines, water and fuel logistics agree. This guide compares practical 2x2, 2x4 and 2x6 layouts, shows the component demand behind each block, and gives you a sandbox checklist before you stamp a blueprint into a real factory.
Last updated: August 2, 2026. Written for Factorio 2.0 and Space Age players.
Quick Answer: Which Factorio Nuclear Reactor Blueprint Should You Use?
Start with a compact 2x2 block when you are learning nuclear power or need a stable starter plant. Move to 2x4 or 2x6 only when your water, heat-pipe and steam logistics can support the larger block. Before importing any shared blueprint, verify its reactor count, neighbor contacts, train or belt inputs, fuel handling, heat-pipe reach and turbine output in a test area.
- A 2x2 block has 4 reactors, 4 touching neighbor pairs and 480 MW of heat output.
- A 2x4 block has 8 reactors, 10 neighbor pairs and 1,120 MW of heat output.
- A 2x6 block has 12 reactors, 16 neighbor pairs and 1,760 MW of heat output.
- Round heat exchangers, turbines and offshore pumps up; a mathematically neat blueprint can still fail if pipes or heat pipes cannot reach every machine.
- Use the nuclear reactor calculator to check the block before copying it, then run a live-load test with fuel, water and spent-cell removal.
A Blueprint Is a Logistics Contract
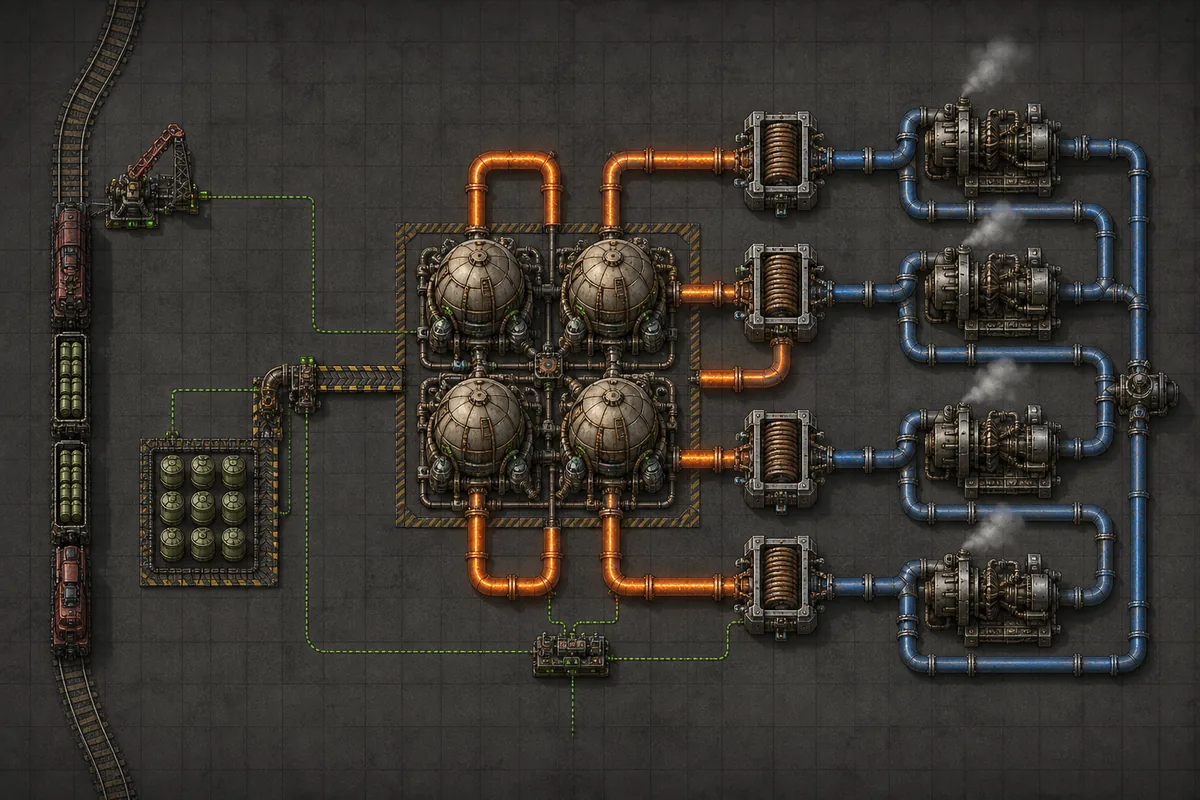
This editorial illustration is not an official screenshot. It shows the relationship a useful blueprint must preserve: a reactor core, a reachable heat network, a water-to-steam side and a fuel/spent-cell path that can be inspected instead of hidden inside a giant stamp.
What a Factorio Nuclear Reactor Blueprint Must Include
Do not judge a reactor blueprint by the number of machines in its screenshot. The useful question is whether the layout exposes the assumptions that determine whether it can run in your save. A good blueprint lets you identify the reactor grid, heat route, water demand, steam output and fuel cycle without reverse-engineering every pipe after placement.
| Blueprint area | Check before import | Why it matters |
|---|---|---|
| Reactor grid | Count reactors and confirm which sides touch | Neighbor contacts create the bonus heat that makes compact blocks efficient. |
| Heat network | Trace heat pipes from every reactor to the exchanger banks | A distant or broken heat route leaves machines cold even when the core is fueled. |
| Water and steam | Identify offshore pumps, water pipes, exchangers and turbine output | The plant may show enough turbines but still starve because water cannot reach all exchangers. |
| Fuel cycle | Find fuel insertion, uranium delivery and spent-cell removal | A reactor that starts is not a reactor that can run continuously. |
| Version and assumptions | Check Factorio 2.0, Space Age, mods, train length and orientation | Recipes, entities and surrounding logistics may not match the source save. |
2x2 vs 2x4 vs 2x6 Factorio Nuclear Reactor Layouts
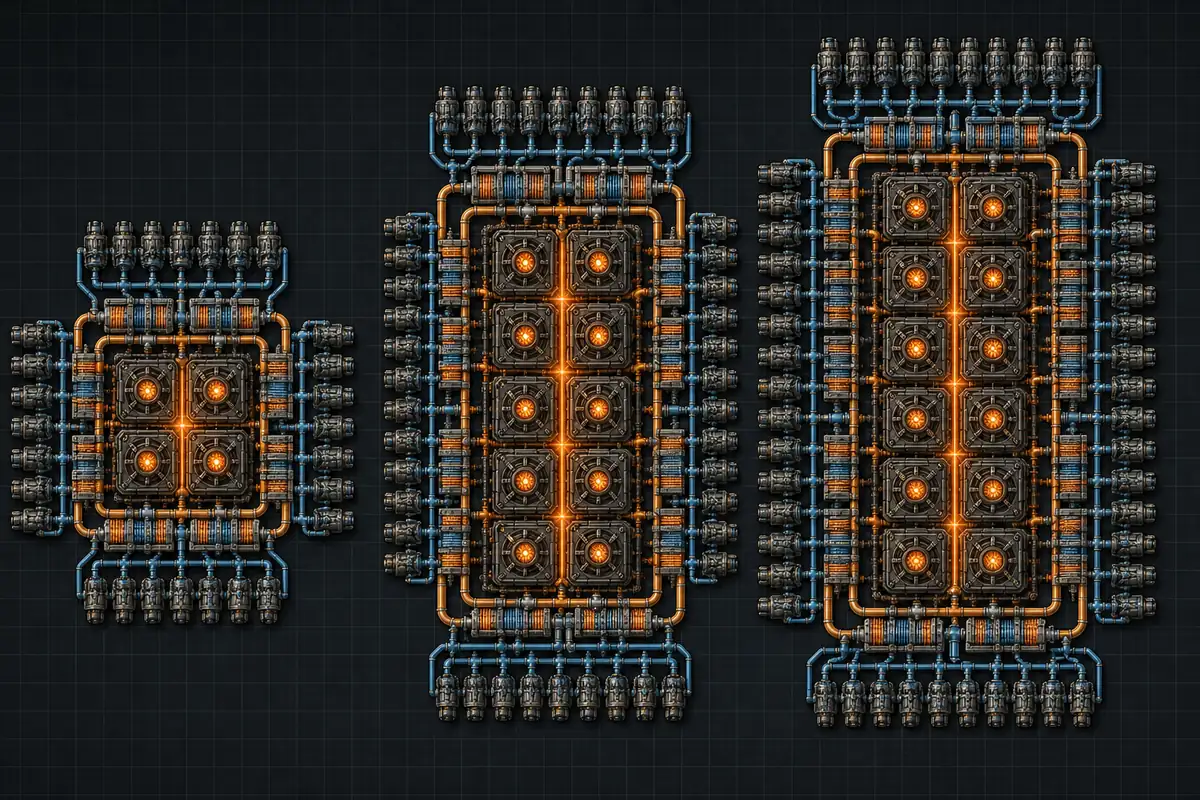
The layout choice is mainly a trade-off between compact neighbor bonus and the amount of supporting infrastructure you must keep supplied. The figures below use the standard 40 MW per reactor and 80 MW per touching reactor pair model. Treat them as planning values, then confirm the final block with the calculator and a test build.
| Layout | Reactors and neighbor pairs | Heat output | Best fit | Main risk |
|---|---|---|---|---|
| 2x2 | 4 reactors, 4 pairs | 480 MW | First nuclear plant or a compact expansion block | Limited room for mistakes around heat pipes and water. |
| 2x4 | 8 reactors, 10 pairs | 1,120 MW | A serious mid-game power block with room to scale | Water, steam and fuel delivery need deliberate routing. |
| 2x6 | 12 reactors, 16 pairs | 1,760 MW | Large demand or a repeatable power district | A single missing connection can waste a large amount of fueled capacity. |
Factorio Nuclear Reactor Ratio Checks Before You Stamp
A blueprint can contain the right number of machines and still underperform if the support ratios were rounded down or copied from a different reactor size. Use this table as a quick audit. The existing nuclear reactor calculator can recalculate the same values for a different grid, target MW or safety margin.
| Layout | Heat exchangers | Steam turbines | Water demand | Fuel cells per minute |
|---|---|---|---|---|
| 2x2 / 480 MW | 48 | 83 | About 4,944/s | About 1.2 |
| 2x4 / 1,120 MW | 112 | 193 | About 11,536/s | About 2.4 |
| 2x6 / 1,760 MW | 176 | 303 | About 18,128/s | About 3.6 |
Round up the heat side
Heat exchangers consume roughly 10 MW of heat each in the standard model. Rounding down leaves usable heat stranded in the pipe network, while adding a small spare bank gives the plant room to recover from uneven layouts.
Leave turbine headroom
Steam turbine output does not divide neatly into reactor heat. A few extra turbines are usually easier to maintain than a block that clips its maximum output whenever demand rises.
Check the water path
Water demand belongs to the exchangers, not only the reactor count. Trace pump placement and pipe direction all the way to the furthest exchanger bank before calling the blueprint finished.
Use the calculator for variants
If the blueprint uses a different grid, modules, a modded recipe or a target margin, open the Factorio Nuclear Reactor Calculator and compare the result with the stamp before scaling it.
How to Test a Nuclear Reactor Blueprint Safely
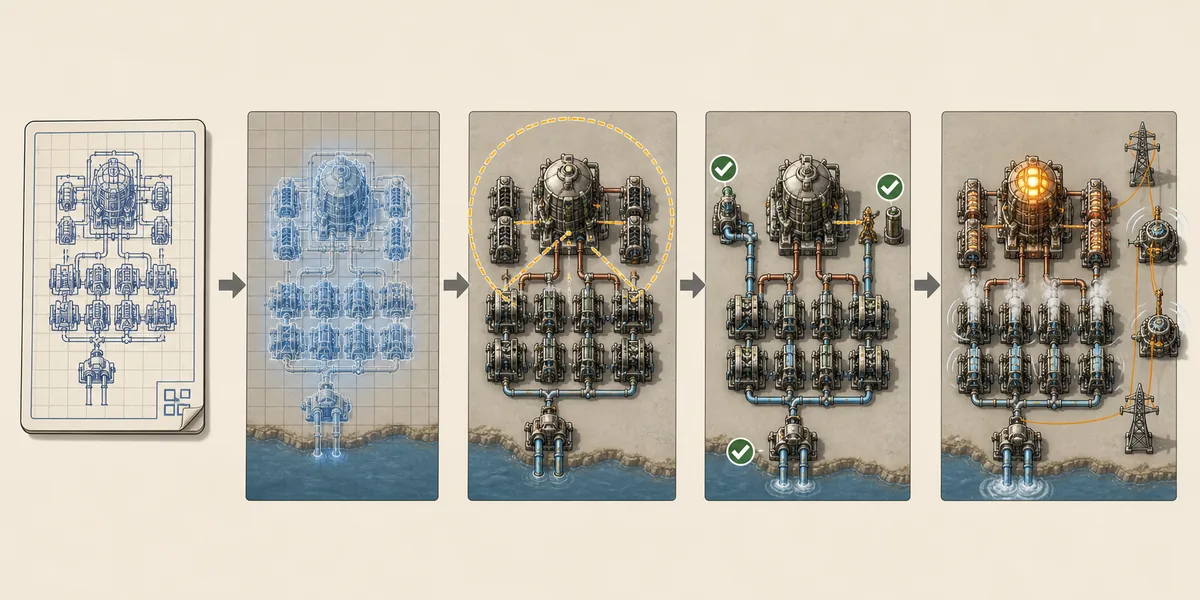
Importing is only the beginning. Test the blueprint in an empty area or a separate save so a missing pipe, wrong orientation or old mod dependency cannot interrupt the factory that is currently making your science packs.
Confirm the source assumptions
Record the Factorio version, Space Age planets, mods, train length, belt tier and intended power target. If the source does not say what it assumes, treat the blueprint as an unverified starting point.
Place the blueprint in a test area
Import the string or book, place ghosts on clear ground and inspect the footprint before supplying fuel. Check that reactors actually touch where the design expects a neighbor bonus.
Trace heat and fluids
Follow every heat pipe, water pipe and steam route. Look for disconnected corners, crossed pipes, unreachable exchangers and turbine banks that are technically placed but not fed.
Connect fuel and spent cells
Run the full fuel path, including uranium delivery, inserter direction, fuel insertion timing and spent-cell removal. A startup-only demonstration is not enough for a continuous plant.
Apply a real load
Turn on a representative group of machines, lasers, roboports or other consumers. Watch reactor temperature, heat storage, steam, turbine output and the point at which the plant stops meeting demand.
Save the verified copy
Edit the blueprint description with the tested version, grid size, train or belt assumptions and any changes you made. Store the verified copy in a dedicated nuclear or power book instead of reusing the raw import.
Heat Pipes, Water, Fuel and Spent-Cell Logistics
A compact reactor block is only one part of the plant. The support systems should be readable from the outside of the blueprint so you can expand, repair or reroute them later without dismantling the core.
Heat-pipe reach
Keep exchanger banks close enough to the heat network that every branch can warm up. If a design uses a long central spine, leave inspection gaps and test the farthest endpoint first.
Water access
Reserve a clean pump and pipe route. Avoid hiding all water inputs under the reactor footprint, because a blocked pipe can be difficult to diagnose after the blueprint is surrounded by belts.
Fuel delivery
Choose a belt, bot or train input that matches the rest of the factory. The path must keep fuel available during a long load period, not only during the first few seconds after startup.
Spent-cell removal
Give spent fuel a clear output route and a destination. Inserters that stop because the destination is full can eventually prevent fresh fuel from entering the reactor.
Expansion space
Leave service lanes around the block for extra pumps, storage, power poles and a second reactor module. A blueprint that fills every tile may have a good screenshot but a poor repair story.
Common Factorio Nuclear Blueprint Mistakes
Most nuclear blueprint failures are ordinary logistics mistakes hidden behind an impressive reactor core. Use these checks before blaming the ratio or the game version.
| Mistake | What you see | Repair |
|---|---|---|
| Reactors do not touch | The block has fewer neighbor pairs than expected | Rebuild the core grid or recalculate the layout instead of assuming the advertised MW. |
| Water is rounded down | Some exchangers stay cold or steam falls during load | Count exchanger demand and provide enough pump and pipe capacity. |
| Heat pipes are too long or disconnected | One side of the plant never reaches operating temperature | Inspect the farthest branch and add a shorter route or a deliberate junction. |
| Blueprint is copied from an older setup | Missing entities, wrong recipes or odd machine assumptions appear | Check the version, Space Age status and mod list; save a tested local copy. |
| No live-load test | The plant works at idle but collapses when the factory expands | Test with representative consumers and record the stable output before scaling. |
Check the Numbers Before You Stamp
Use the nuclear reactor calculator for a custom grid or target MW, then return to this checklist to verify the physical blueprint and its logistics paths.
Factorio Nuclear Reactor Blueprint FAQ
What is a good first Factorio nuclear reactor blueprint?
A compact 2x2 block is a sensible first test because it is easy to inspect and has a clear 480 MW planning value. Choose a layout that exposes heat pipes, water, fuel and spent-cell paths instead of hiding them inside a huge stamp.
How many reactors should a nuclear blueprint have?
Use the power target and the available support space. A 2x2 block has 4 reactors and 480 MW of heat, while 2x4 and 2x6 blocks scale to 1,120 MW and 1,760 MW before you account for layout losses or your safety margin.
Should I use a nuclear reactor blueprint or build it manually?
Use a blueprint after you understand the assumptions. Manual construction is useful for learning the heat and fluid paths; a verified blueprint is useful for repeatable expansion. Test imported designs before placing them in the production base.
Why does my Factorio nuclear reactor blueprint not produce the expected power?
Check reactor contact pairs, heat-pipe continuity, exchanger water, turbine steam, fuel insertion and the actual factory load. The advertised reactor output is not the same as guaranteed delivered electricity when a support system is missing.
When do nuclear reactors explode in Factorio?
The practical safety question is whether the plant can keep its heat and fluid systems supplied. Do not treat a shared blueprint as safe because it starts once; verify fuel, water, heat-pipe reach, steam flow and control logic in a test area before scaling it.
Can I use the same nuclear blueprint in Space Age and modded Factorio?
Only when the source explicitly matches the game version, expansion and mod set. Entity recipes, available machines, fuel handling and surrounding logistics can differ, so keep a tested version-specific copy and recalculate the support ratios when needed.
Sources and Verification Notes
The page uses the standard Factorio reactor and power concepts documented by the official community wiki. Generated images on this page are editorial illustrations, not official screenshots or blueprint files.