Factorio Smelting Setup Guide: Layouts, Ratios & Upgrades
A dependable Factorio smelting setup starts with the output you need, then works backward through furnace count, belt capacity, fuel delivery, and upgrade space. For a simple unmoduled line, use parallel furnace rows with ore on one side, fuel or power handled consistently, and plates leaving on a dedicated belt. This guide covers starter rows, iron and copper ratios, a separate steel column, electric-furnace upgrades, and the checks that prevent hidden bottlenecks.
Last updated: September 8, 2026. The guide separates vanilla layout advice from calculator-dependent ratios.
The Reliable Factorio Smelting Setup
For most early factories, build a straight, repeatable row instead of a compact knot. Keep input belts parallel, use one orientation, and reserve room for a second row or a better furnace tier.
- Choose a target belt or plate rate before placing the first furnace.
- Use one consistent input side and one consistent output side for every row.
- Keep ore, coal, and plates on separate lanes so shortages are visible.
- For one full yellow belt: 48 stone or 24 steel/electric furnaces.
- Treat modules, beacons, quality, mods, and Space Age casting as new calculations rather than small layout tweaks.
Think in Repeatable Furnace Blocks
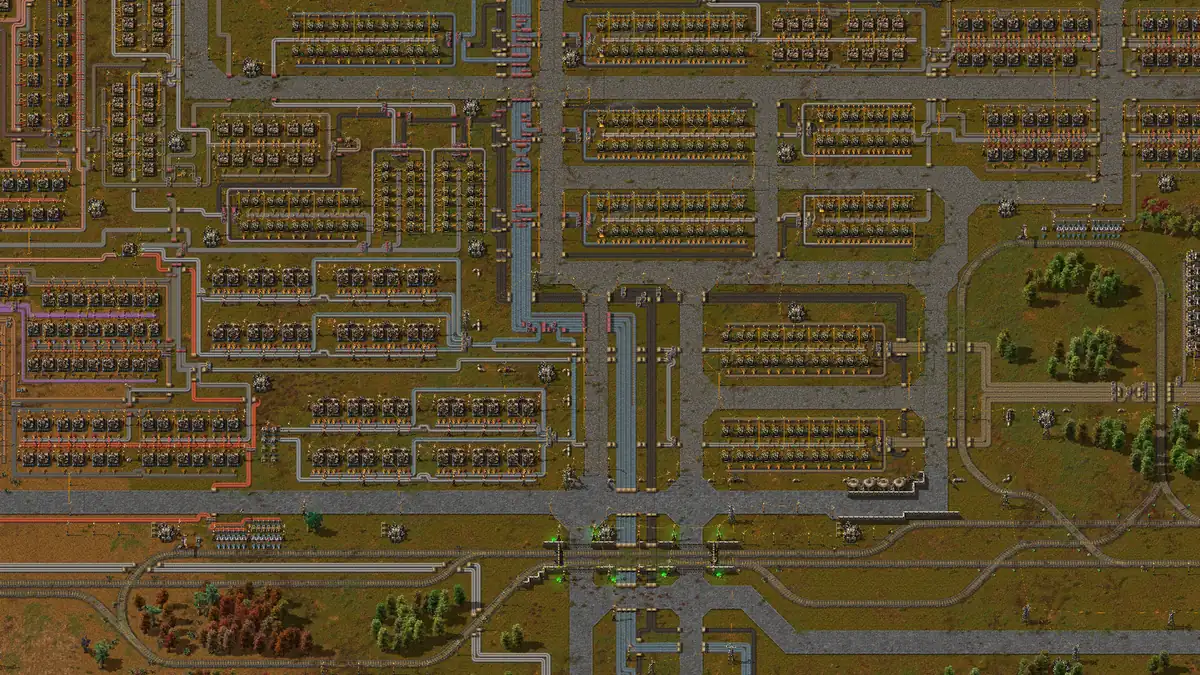
A good smelting setup is easy to extend and diagnose. Repeated rows reveal whether the shortage comes from ore, fuel, inserters, power, or the finished-plate belt. This is editorial media, not an official in-game screenshot.
Start With Output, Not Furnace Count
The most common mistake is choosing a row length first and discovering later that the output belt cannot carry the plates. This is the same logic behind a factorio iron smelting setup and a factorio steel smelting setup: decide whether the block feeds automation, a bus, a steel line, or a science target, then calculate backward from the belt. Exact modded or beaconed numbers belong in the calculator.
| Planning goal | Start with | Layout implication | Check before scaling |
|---|---|---|---|
| Starter iron or copper | One small repeatable row | Leave a clear tile gap for a second row | Ore patch, coal, inserter reach |
| One full yellow-belt output | 15 plates per second target | Plan the belt before the furnaces | Furnace tier and actual recipe speed |
| Main-bus supply | A measured number of lanes | Place outputs toward the bus side | Balancers, underground crossings, buffer space |
| Steel production | Iron input plus a separate steel block | Do not hide steel furnaces inside the iron row | Iron demand and plate output capacity |
Starter Factorio Smelting Setup: Stone Furnace Rows
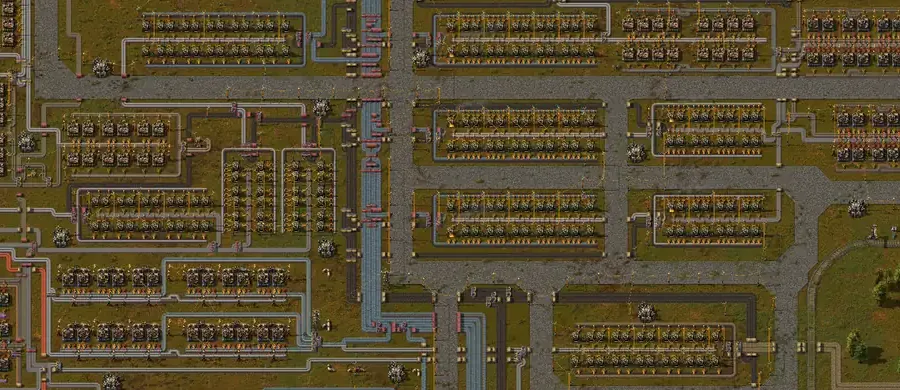
A factorio starter smelter setup should be boring in the best way: straight rows, predictable inserters, and enough space to replace stone furnaces later. Feed ore and coal from parallel belts, place furnaces between input and output paths, and keep the block away from the most crowded assembling area.
1. Mark the output direction
Pick the side where plates will leave. Face the first furnace that way, then use the same orientation for the row. Consistency makes upgrades and blueprinting easier.
2. Bring inputs on parallel lanes
Run ore on one belt and coal on another. Separate belts make a fuel shortage visible instead of disguising it as a random furnace failure.
3. Copy the row before you need it
Leave room for a second row and its inserters. Early empty space is cheaper than moving a saturated smelter after the bus and splitters grow around it.
4. Buffer only for a reason
A small chest buffer can absorb interruptions, but a large one can hide an undersized ore patch or output bottleneck. Watch normal load before adding storage.
Iron, Copper, and Steel Smelting Ratios
Vanilla furnace math works when the recipe, machine tier, and belt tier are fixed. With no modules, stone furnaces craft at speed 1 while steel and electric furnaces craft at speed 2. A full yellow-belt plate line is a useful benchmark: 15 items per second needs 48 stone furnaces or 24 steel/electric furnaces. Verify ore and inserter throughput after scaling.
| Output target | Stone furnaces | Steel or electric furnaces | Use this as |
|---|---|---|---|
| 15 items/s | 48 | 24 | One full yellow belt |
| 30 items/s | 96 | 48 | One full red belt |
| 45 items/s | 144 | 72 | One full blue belt |
| Steel plates | Calculate iron input separately | Calculate iron input separately | A separate column, not a hidden side branch |
Belts, Fuel, Inserters, and Lane Balance
A furnace can be correctly counted and still run slowly because one transport system is undersized. Inspect input, output, fuel, and inserter rhythm separately. Burner rows need stable coal; electric rows trade that lane for power capacity and pole space.
Input belt
Feed ore consistently into the row. If the first furnaces are full while the last starve, improve distribution or supply instead of adding furnaces.
Output belt
A full output belt is a hard ceiling. If plates back up, add capacity or a split destination before adding furnaces.
Fuel lane
Coal should reach every burner furnace reliably. Keep fuel traffic legible so ore and fuel shortages are easy to distinguish.
Inserter rhythm
Check inserter reach, stack size, filters, and whether an underground belt or splitter is stealing the expected lane.
Steel Furnace and Electric Furnace Upgrades
Upgrade when production, fuel handling, or footprint is a constraint—not simply when the next furnace unlocks. Steel furnaces double basic crafting speed but still need fuel. Electric furnaces also use speed 2, trading coal logistics for electricity and a larger power plan. Your factorio furnace layout should leave room for a factorio electric furnace setup.
| Furnace tier | Main advantage | New constraint | Good upgrade moment |
|---|---|---|---|
| Stone | Cheap and available early | Lower speed and coal handling | Starter base and first bus lanes |
| Steel | More output in the same row length | Still needs dependable fuel | Coal logistics are stable and output demand is rising |
| Electric | No fuel belt and module support | Higher power draw and larger footprint | Power network and module plan are ready |
| Foundry or modded machine | Different recipes and high-end throughput | New recipe and planet assumptions | Use a fresh calculator plan for that surface or mod |
Modules, Beacons, and Space Age Changes
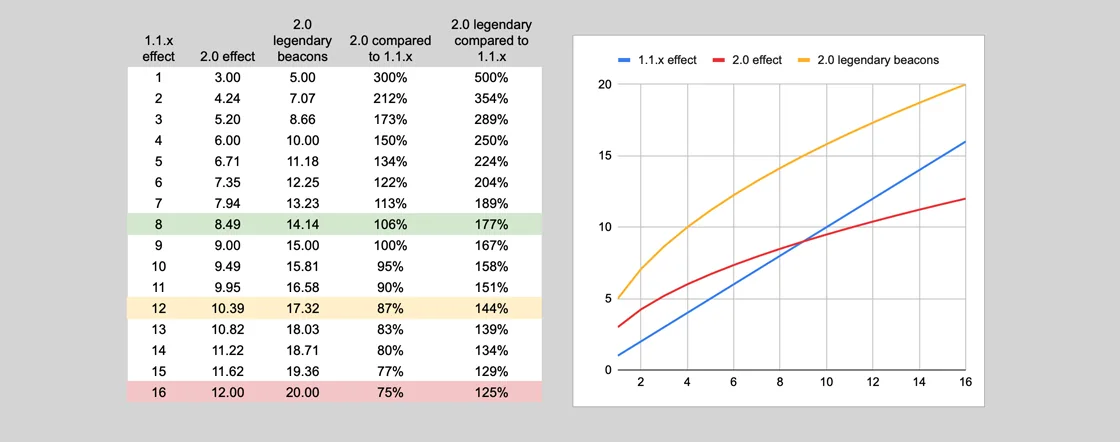
A starter layout is not automatically a megabase layout. Productivity changes ingredient demand, speed changes machine count, beacons change nearby effects, and quality turns fixed output into a probability distribution. In Space Age, planet recipes and casting can make a Nauvis furnace count wrong elsewhere.
Reserve a second geometry
Before stamping a large block, reserve space for beacon gaps, substations, train unloading, or a higher belt tier.
Treat planets as separate factories
Do not copy a Nauvis block to another planet without checking the recipe, local inputs, transport, and power source. Label assumptions on the blueprint.
Test a slice
Build one or two rows first. Watch input compression, output saturation, power draw, and recovery after a belt interruption before repeating the block.
Troubleshoot and Validate the Smelting Setup
When a smelting line underperforms, diagnose the first empty or backed-up stage instead of adding random machines.
Check the ore belt
Confirm the mine belt is compressed and every furnace receives ore. Inspect splitters, underground lengths, and lane priority.
Check fuel or power
Burner rows need coal on the correct side; electric rows need stable peak-load power.
Check the output path
If the last furnaces stop first, the output belt, chest, splitter, or consumer is full. Clear it before increasing production.
Check assumptions after every upgrade
Recalculate after changing tier, belts, modules, beacons, quality, planet, or mod. Record assumptions with the blueprint.
Need the exact machine count?
Use the calculator for modules, beacons, quality, planets, mods, or exact rates.
Factorio Smelting Setup FAQ
How many furnaces do I need for a full yellow belt in Factorio?
With no modules or beacons, a full yellow belt is 15 items per second: 48 stone furnaces or 24 steel/electric furnaces for ordinary iron or copper plates. Recheck after changing recipe speed, belt tier, quality, or mods.
Should iron and steel use separate smelting columns?
Usually yes. A separate steel column keeps iron input, steel output, and demand visible, and it can expand without interrupting iron plates. Combine them only in a small, easy-to-diagnose block.
Is an electric furnace better than a steel furnace?
It depends on the stage. Electric furnaces remove the fuel belt and support modules, but need more power and room. Steel furnaces are a strong intermediate upgrade when coal is stable.
Do Factorio 2.0 and Space Age change furnace ratios?
They can. Machine tiers, modules, quality, planet recipes, Foundry casting, and other expansion systems change the assumptions behind a vanilla furnace row. Use the static ratios here as a starting point, then calculate the active recipe and planet setup before scaling.
When should I use a Factorio calculator for smelting?
Use a calculator for exact items-per-second goals, multiple belt tiers, modules, beacons, quality, alternate recipes, Space Age planets, or mods. A static row is fine for a simple unmoduled starter block, but it should not be treated as a universal blueprint.
Sources and Further Reading
These references support machine, belt, inserter, and Space Age terms. Check the version and mod set before scaling.