Factorio Wall Blueprint Guide: Choose a Defense Layout That Fits
A useful Factorio wall blueprint is a maintainable perimeter system, not just a line of walls and turrets. Match its segment size, weapon mix, power, ammunition, repair access and terrain to the outpost you need to protect, then test one small section before repeating it across the map.
Layout guidance reviewed October 22, 2026. Community designs are examples to inspect, not tested or endorsed blueprints.
What Should a Factorio Wall Blueprint Include?
Choose a Factorio wall blueprint that fits the threat, game stage and logistics you can actually support. Early outposts can use simple gun-turret sections with a dependable ammunition route; larger bases may need modular corners, power, repair coverage and several defensive layers. Treat every shared design as a draft: check its entities, spacing and supply assumptions in your own save before copying it around the perimeter.
- Prefer repeatable straight sections with corners and gates that connect cleanly.
- Place turrets so the wall does not block their firing area and leave room to replenish them.
- Plan ammunition, fuel, electricity and repair materials as separate supply jobs.
- Check the blueprint string for version, mod and unavailable-entity assumptions.
- Build and test one segment under realistic pressure before stamping a long wall.
Think in Perimeter Modules, Not Isolated Turrets
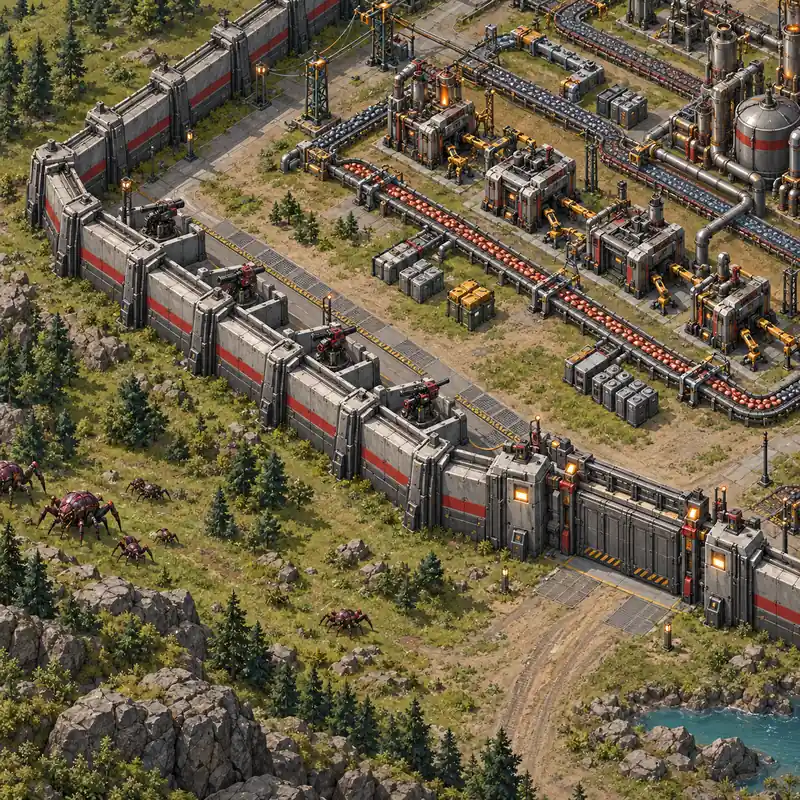
This editorial illustration shows the relationships to check: a continuous barrier, a controlled opening, defensive space behind the wall and an access route for maintenance. It is a concept drawing, not an in-game screenshot or a validated blueprint string.
Choose a Wall Layout for Your Game Stage
Select a Factorio wall blueprint by its threat level and logistics, not by appearance. Note how far the outpost is from supply and what you can replenish. Use the smallest layout that covers the frontier; a late-game network can be difficult to maintain in an early save.
Early outpost: keep the supply chain short
A short wall with a few gun turrets can work when magazines arrive reliably. Keep the segment near a belt, road or drop point. Skip a large roboport grid or train stop until the save can maintain it.
Growing base: standardize the repeatable pieces
Use a shared tile rhythm for straight runs, corners and gates. That makes gaps easier to see and upgrades easier to repeat. Leave room for poles, ammunition and repairs rather than packing every entity against the edge.
Large network: add services only when they help
Add rail, roboports or mixed turrets only when the routes stay supplied. Keep defense pieces separate from nearby production or station blueprints so one edit cannot silently break another.
Check the Geometry Before You Copy a Perimeter
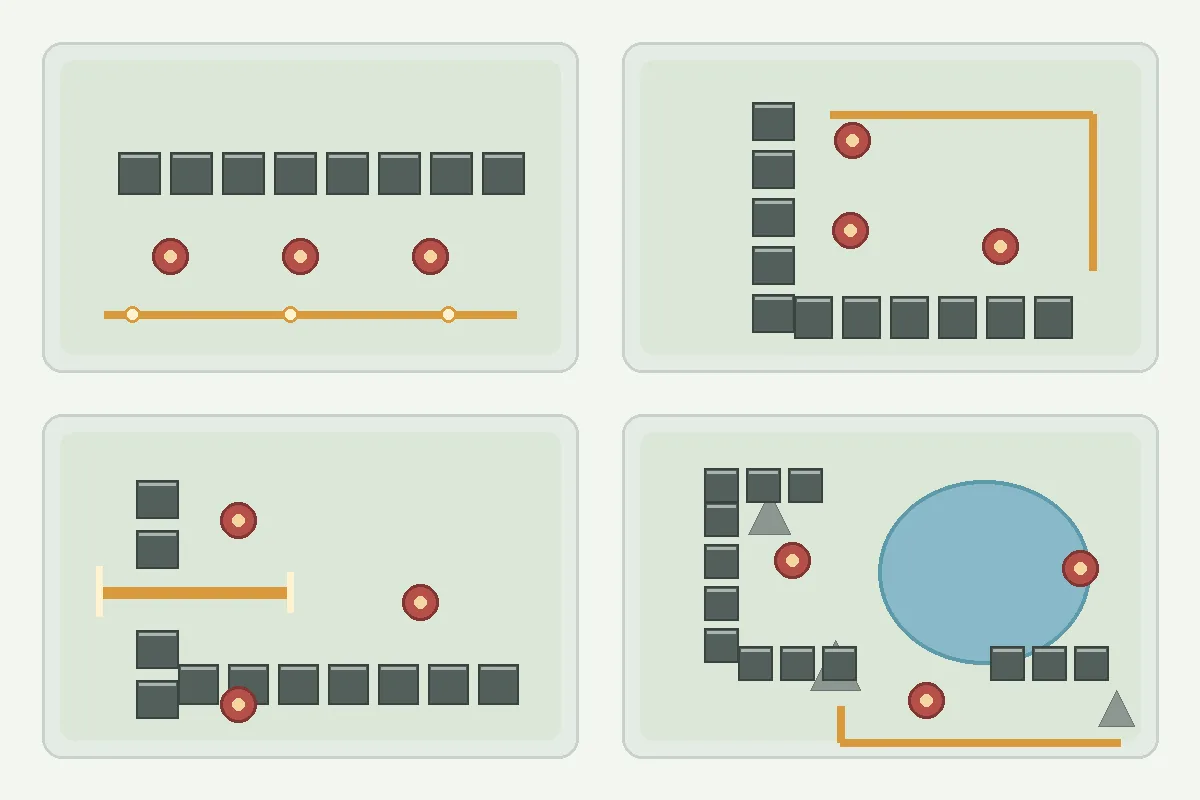
A wall can look continuous in preview and still fail at corners, gates or terrain. Trace the outer barrier end to end. Check turret clearance, movement and repair access, and confirm no pole or pipe blocks a key route. A reliable Factorio wall blueprint makes these connections repeatable.
Straight sections and corners
Check that adjoining pieces meet without gaps. Test corners separately for exposed angles and blocked turrets. Use a consistent connection point so later extensions remain easy to inspect.
Gates and crossings
List every rail, belt or player opening. Size the gate for its traffic and confirm it does not leave a permanent uncovered lane. Test the full crossing where the wall meets rail or water.
Terrain and service access
Check cliffs, water, trees and rail before stamping. Adjust the wall path if needed, and leave a safe route for construction and repair; inaccessible entities slow recovery after damage.
Match Turret Roles to Their Resupply Needs
Turrets add different supply and infrastructure needs. Choose a mixed wall only when each type solves a frontier problem and can stay supplied through an attack. The table is a planning aid, not a universal weapon ranking.
| Defense element | Useful when | Plan before importing |
|---|---|---|
| Gun turrets | You can deliver magazines and want a compact early defense. | Check belt or inserter direction, chest access and ammunition replenishment. |
| Flamethrower turrets | The layout can route and maintain the required fluid supply. | Review pipe routing, tank or train connections and space around the turret. |
| Laser turrets | The electrical network can support the defense during peak use. | Check poles, network continuity and the consequences of a local power gap. |
| Artillery support | You need a separate long-range frontier task in a suitable stage. | Treat it as a distinct outpost system with its own ammunition and safety review. |
Plan Ammunition, Power and Repairs Separately
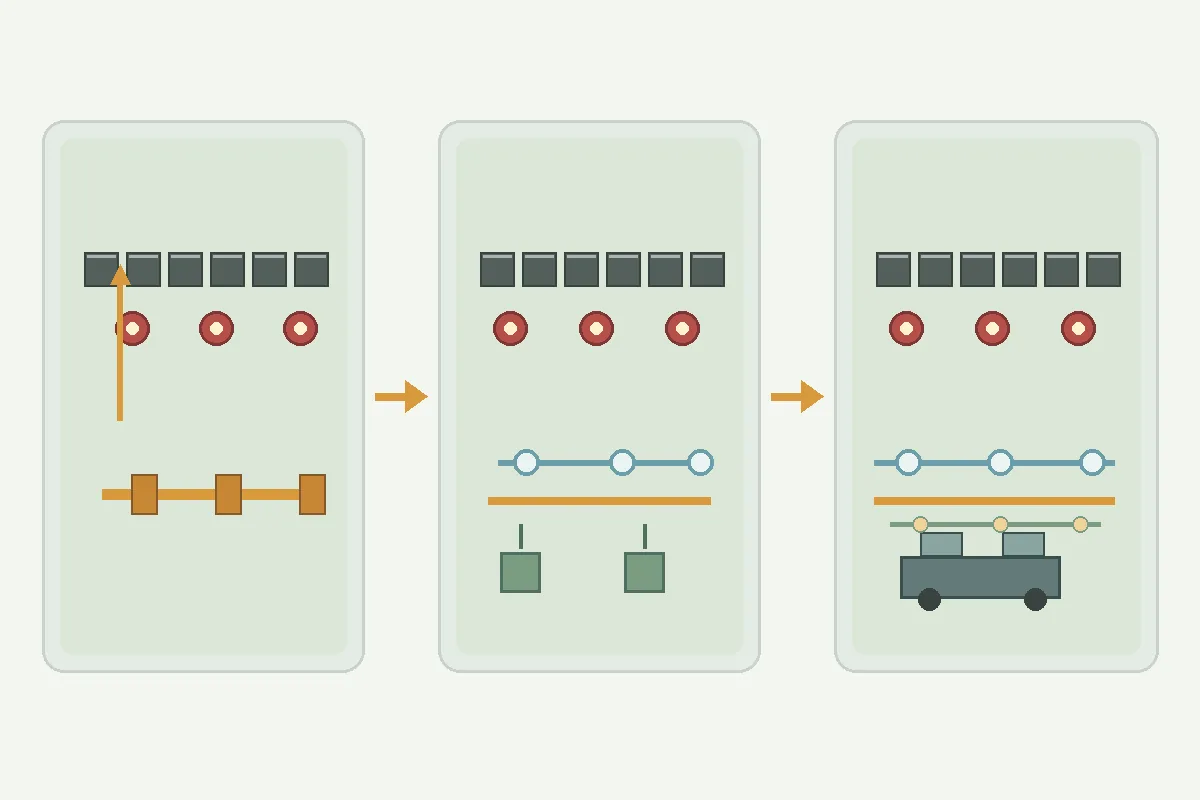
Defense failures often start with empty buffers or inaccessible repairs. Trace each resource from its source to the final inserter or delivery point, then consider what happens if one link stops. Keep the maintenance plan legible instead of burying it inside a mixed factory stamp.
Ammunition and fuel
Trace the route and final handoff. A short belt, reversed inserter or small chest can leave a complete-looking wall empty. Decide how a remote outpost signals a missed delivery.
Electricity and fluid
Check pole continuity through corners and separate outposts. For fluid-fed turrets, verify each pipe, pump direction and delivery point. Keep service paths visible during expansion.
Repairs and recovery
For robot repairs, confirm coverage, repair packs and replacement access. Decide how the outpost recovers after power or supply loss. Player-maintained walls need safe access to their outer edge.
Validate a Shared Blueprint in a Small Test Area
Community strings are starting points, not proof of fit. Import a Factorio wall blueprint in a safe area first to catch missing entities, mod assumptions, awkward alignment and hidden supply needs. Keep the original source and save changes as a tested revision.
Inspect the source and prerequisites
Check the shared version, mod or Space Age requirements, and any described supply chain. A popular string is still user-created; its title or comments do not prove it fits your save.
Place one segment and review warnings
Test one straight and one difficult transition. Review missing entities, overlaps, rotation, player access and terrain fit. Remove unrelated production entities before copying the design.
Run the supply and recovery check
Trace ammunition, fluid, fuel, power and repair routes. In a controlled save, interrupt a supply link and see whether the gap is easy to spot. Scale only after the section is maintainable.
Need a broader blueprint workflow?
Use the general blueprint guide to import and organize a string, then return here to review the wall's perimeter, supply and repair assumptions before using it at an outpost.
Factorio Wall Blueprint FAQ
What is the best Factorio wall blueprint?
The best fit is the smallest layout that covers your current threat and that you can keep supplied and repaired. Compare its wall geometry, turret needs, terrain fit and logistics before choosing a shared design.
Should turrets go behind or in front of a wall?
Use the placement that gives the turret a clear firing area while preserving the barrier and safe access. Check the exact geometry in game because a wall, pole or terrain feature can obstruct a position that looks clear in a thumbnail.
Can I mix gun, flame and laser turrets in one wall?
You can combine defenses when each type has the supply and infrastructure it requires. Keep ammunition, fluid and power routes legible, and test the combined segment instead of assuming that a mixed layout is automatically stronger.
How do I check whether a wall blueprint still works?
Review its game version and dependencies, import it into a safe test area, place a representative straight and corner, check missing entities and trace every supply path. Test a small section before repeating it across your base.
Is a wall maze blueprint a universal defense?
No. A maze changes enemy pathing and can add footprint or maintenance costs. Whether it helps depends on the game's behavior, your frontier and the way the route interacts with turrets; validate that choice in your own save.
Sources and Community Examples
Use official game documentation to check entity behavior and treat shared wall designs as user-created examples. The community links below are discovery starting points; this article has not tested or endorsed their individual blueprint strings.