Factorio City Block Blueprints: Design Rails, Stations, and Production Modules
A good Factorio city block blueprint is a traffic template, not just a square of rails. It must reserve space for the train length you actually use, protect intersections from queues, connect roboports and power, and leave enough interior area for a complete production module. This guide shows how to design one reusable block and test it before stamping a megabase across the map.
Last updated: September 28, 2026. Covers Factorio 2.0, Space Age rail grids and vanilla city block planning.
Quick Answer: What Should a City Block Blueprint Include?
Start with one complete block that includes the outside rail standard, corner intersection, station bay, waiting space, power, roboport coverage and a clear production footprint. The block size should follow the largest fixed part, usually the station or intersection, rather than the empty interior.
- Choose a train standard first, such as 1-2, 1-4 or 2-4, and reserve the full loaded length plus signals.
- Keep the main rail on a predictable edge or ring so every blueprint connects without hand-built exceptions.
- Place intersections and stackers in the template before deciding how much production fits inside.
- Overlap roboport coverage at corners and run power, pipes and circuit lines through repeatable service corridors.
- Test two trains and one busy station in a sandbox before copying the city block blueprint into the live base.
Treat the Blueprint as a Repeatable Traffic Contract
A city block works when every copy agrees on rail direction, signal spacing, station naming space, utility corridors and the position of its connection points.
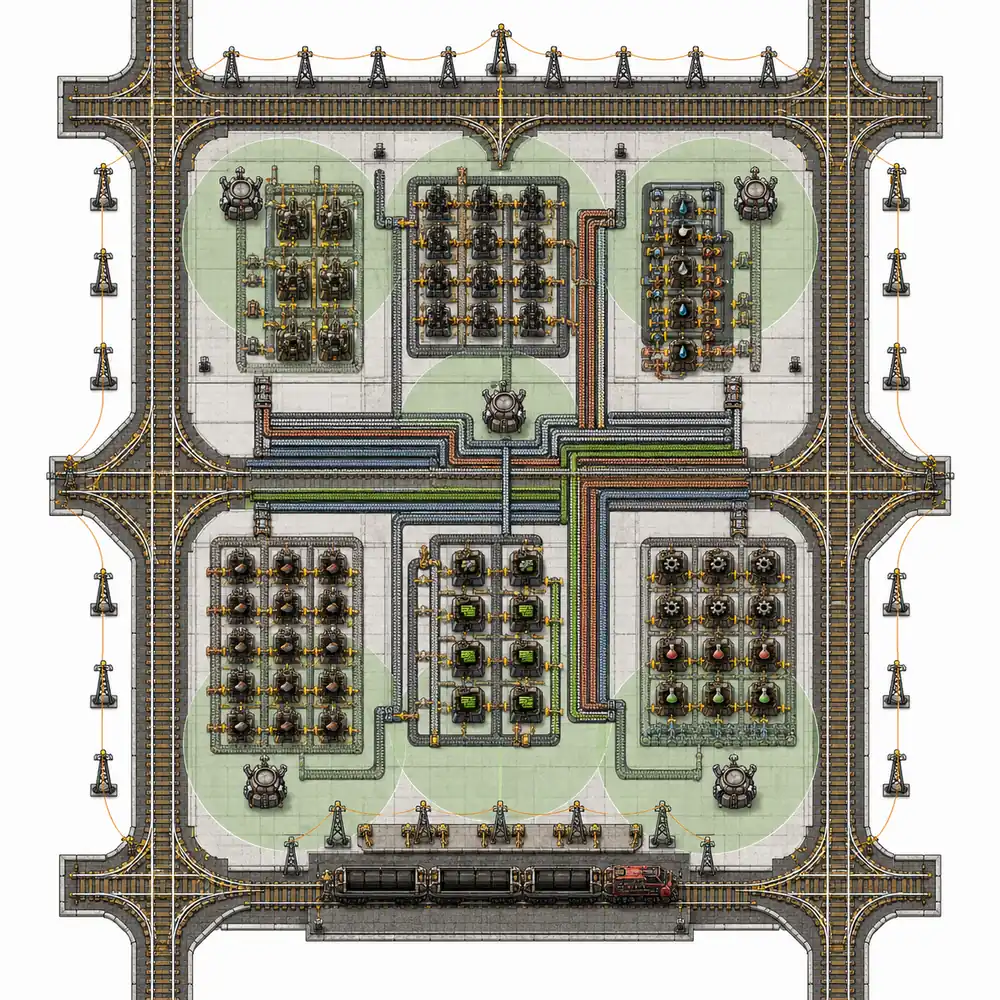
Factorio City Block Blueprint Types
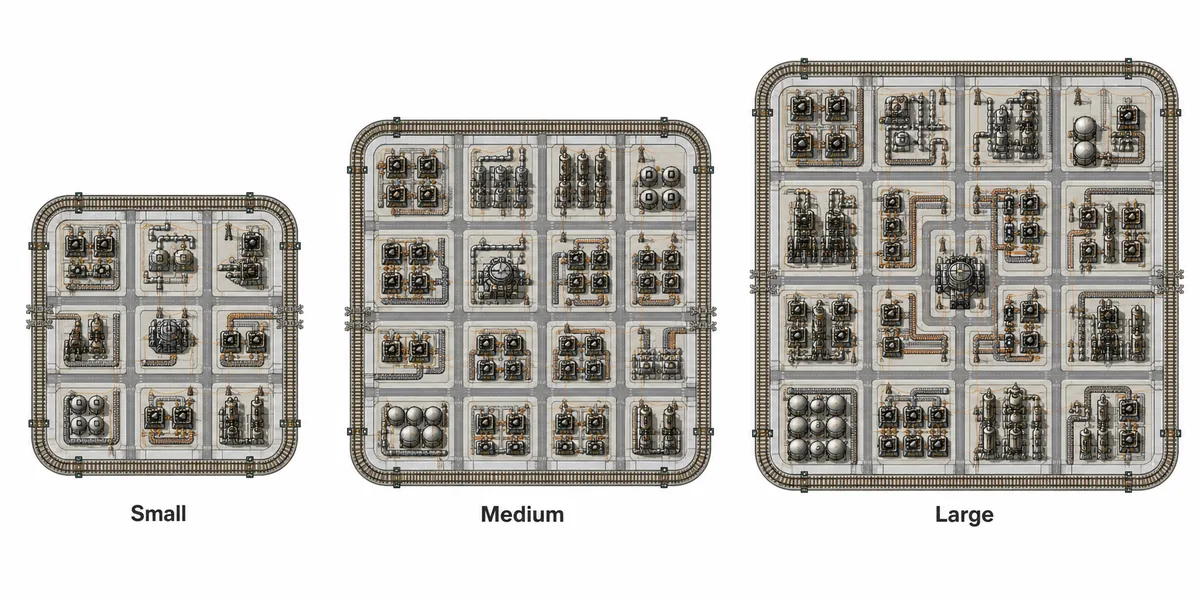
There is no single best city block blueprint. Pick the smallest template that supports the traffic pattern, station role and production density you expect to repeat.
| Blueprint type | Best use | What it must reserve | Main tradeoff |
|---|---|---|---|
| Compact 64x64 block | Small science or no-train production cells | A narrow rail edge, power and a short walking route | Corners and station bays become cramped very quickly |
| Balanced 96x96 or 100x100 block | First rail megabase and mixed production | One station, a simple intersection and overlapping roboports | Long 1-4 trains may need an external stacker |
| Large 128x128 block | Beaconed modules, 1-4 or 2-4 trains and stable rail traffic | Wide corners, signals, station exits and a utility lane | More rail and empty space to build before the factory is dense |
| Multi-station block | High-throughput city blocks with separate input and output trains | Two station bays, queue space and independent entry signals | A bad queue design can block the whole grid |
| Space Age service block | Foundries, recycling, interplanetary buffers and large logistics modules | Extra fluid, power, bot and belt corridors | The template is harder to keep compact and easy to walk through |
Design Decisions That Make a Blueprint Reusable
The best Factorio city block blueprints remove repeated decisions. Document the assumptions in the template so a future block still works when the factory grows or a different player places it.
Train length and direction
Write the train length into the blueprint name and leave a visible stop, signal and exit standard. A template for 1-2 trains should not quietly become the route for a 2-4 ore train.
One-way or two-way rail
One-way pairs simplify signaling and throughput, while two-way rails can save space for a small base. Keep the choice consistent at every corner and show the direction with signals.
Station placement
Decide whether stations sit inside the block, along an outside edge or in a dedicated station block. Through stations need long straight sections; side stations need safe exits that do not cross the main route.
Stacker and queue boundary
A stacker belongs before a station, not on the shared intersection. Give waiting trains a place to stop without occupying the crossing used by through traffic.
Roboport and utility grid
Place roboports at a repeatable offset and make their logistic areas overlap. Run big poles, substations, pipes and circuit wire along a service strip instead of through production machines.
Interior module footprint
Leave a rectangle or pair of lanes for the actual factory: smelting, circuits, oil, science, mall supply or Space Age recycling. A visually empty block can still be too small once beacons and input buffers are added.
Rail, Station, and Roboport Checklist
Place the exact city block blueprint in a sandbox and run the checks below before it becomes the default rail template. Testing one block is cheaper than rebuilding a connected grid.
| Check | Failure you are looking for | Practical test |
|---|---|---|
| Corner intersection | A turning train clips a signal or blocks the opposite exit | Place the real corner in all four rotations and send a train through each route |
| Station bay | The locomotive or last wagon sits over a junction | Place a fully loaded train, add entry and exit signals, and check the queue boundary |
| Stacker | Waiting trains spill into the main rail | Fill every stacker lane and confirm through traffic still reaches the next block |
| Unload path | Belts, bots or fluids cannot clear a train before the next arrival | Compare the station output with the production target and rate calculator |
| Roboport overlap | Construction pauses at corners or logistic requests stop at the block edge | Check coverage at every connection point, not only the block center |
| Power and signals | One missing pole or circuit wire breaks a later copy | Place the blueprint twice, connect the copies, and inspect every utility gap |
A Six-Step City Block Blueprint Workflow
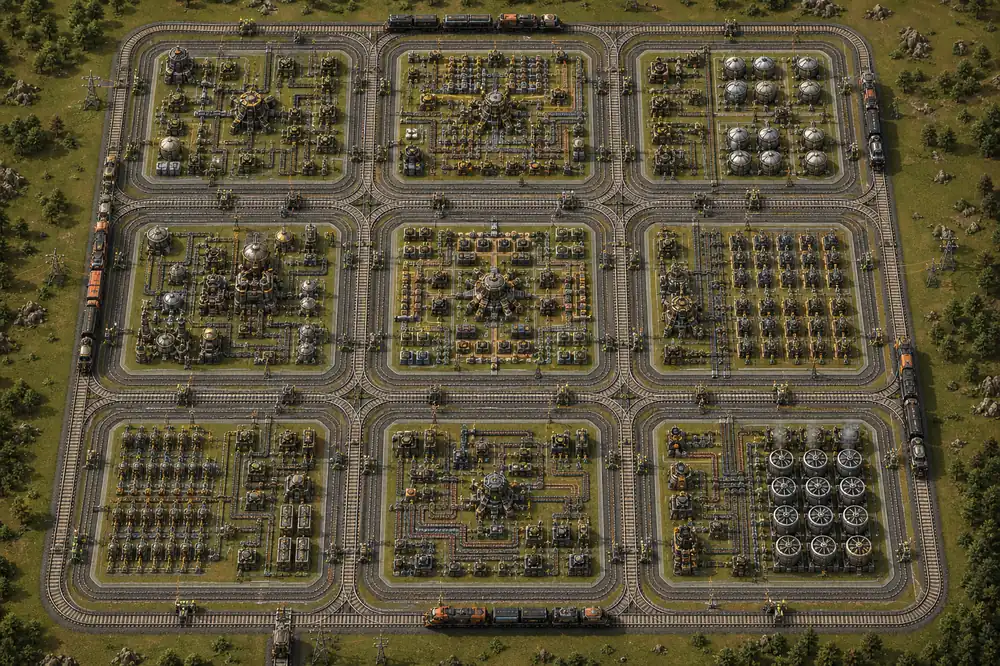
Build the template around a real use case. A block that only looks tidy in an empty editor does not prove that it can supply a factory under load.
1. Define the factory contract
Choose train length, rail direction, station naming, signal style and whether the grid is vanilla or Space Age. Record these decisions in the blueprint book.
2. Draw the connection points
Mark the exact rail center lines, corner offsets and power or pipe corridors. Every future block should meet at the same coordinates.
3. Build one complete intersection
Use the real rail pieces and signals, then test straight, left-turn and right-turn paths. Do not estimate the footprint from a screenshot.
4. Fit the largest station
Place the longest train and all loading, unloading, signal and stacker space. If this consumes the interior, enlarge the block before adding machines.
5. Fill one production module
Try a real smelting, circuit, oil, science, mall or recycling module. Check input buffers, output lanes, beacon rows, robot access and walking space.
6. Copy, connect, and stress test
Place two or three copies, connect their rails and utilities, then create a small queue. Only after the copies behave predictably should the blueprint become the base standard.
Common City Block Blueprint Mistakes
| Mistake | What happens | Better choice |
|---|---|---|
| Choosing the block before the train | Stations overrun the corner or leave no safe signal distance | Choose the train standard and station role first |
| Copying a screenshot instead of a tested template | Hidden signals, power gaps or rotated exits fail in the live map | Place and test the actual blueprint in multiple orientations |
| Putting the stacker on the intersection | A queue blocks unrelated trains and causes deadlocks | Move waiting lanes behind the station entry |
| Ignoring utility corridors | Belts, poles, pipes and circuit wires cut through every later module | Reserve a service edge in the first version |
| Mixing block dimensions randomly | Rail snapping and blueprint alignment become unreliable | Keep one main grid and label intentional support sizes |
| Filling the interior too densely | Robots, maintenance paths and expansion buffers disappear | Leave a clear lane for future beacons, buffers and repairs |
Check Production Demand Before You Lock the Grid
A city block blueprint should fit the throughput it is meant to deliver. Use the Factorio calculator and rate guides to estimate belts, machines, trains and buffer space before choosing the final interior footprint.
Factorio City Block Blueprint FAQ
What should a Factorio city block blueprint contain?
It should define the rail connection points, corner intersection, signals, station bay, stacker boundary, power, roboport coverage and an interior production footprint. Treat those pieces as one tested template.
What is the best size for a Factorio city block blueprint?
A 96x96, 100x100 or 128x128 block is a practical starting range for many rail bases. The correct size is the one that fits your longest train, station, intersection and utility corridors without blocking traffic.
Should stations be inside or outside a city block?
Both patterns work. Inside stations keep a block self-contained, while outside or dedicated station blocks protect the main production grid. Choose one pattern and repeat it so train paths stay predictable.
Do I need a stacker in every city block?
No. A low-volume block may only need a short waiting lane, while a busy ore or science station needs a separate stacker. Keep queues away from shared intersections either way.
How do I test a city block blueprint before using it?
Place the exact blueprint in a sandbox, rotate it through every connection, add the longest train, run two trains through a station and inspect roboport and power coverage at the corners. Then connect two copies and create a small queue.
Can the same blueprint work for Space Age?
The rail contract can, but Space Age production often needs larger fluid, power, robot, recycling and buffer lanes. Keep the connection points stable and make a larger interior module when the process chain requires it.
Sources and Further Reading
These official references help verify rail entities, train stops, roboport coverage, signals and map structure while designing a city block blueprint.